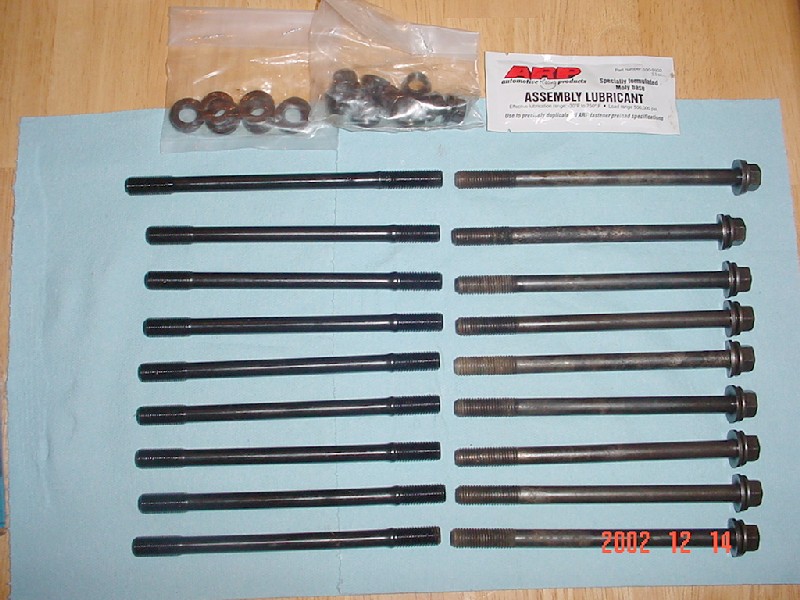
No, that is not an illusion. One of the head bolts is longer than the others (the one directly behind the water pump). I have no idea why Honda did this, but it created a problem. The ARP head stud kit came with 10 studs of equal length. The kit is actually for a 2.0L VW engine. There is no kit made for the D16A1 or ZC engines, but the VW kit happens to fit perfect...well, almost. Luckily, ARP makes a 1/2" longer version of the studs in the kit. That was perfect! I called them up and they had it on my doorstep in 2 days for $11. The ARP studs are on the left and the stock head bolts are on the right.
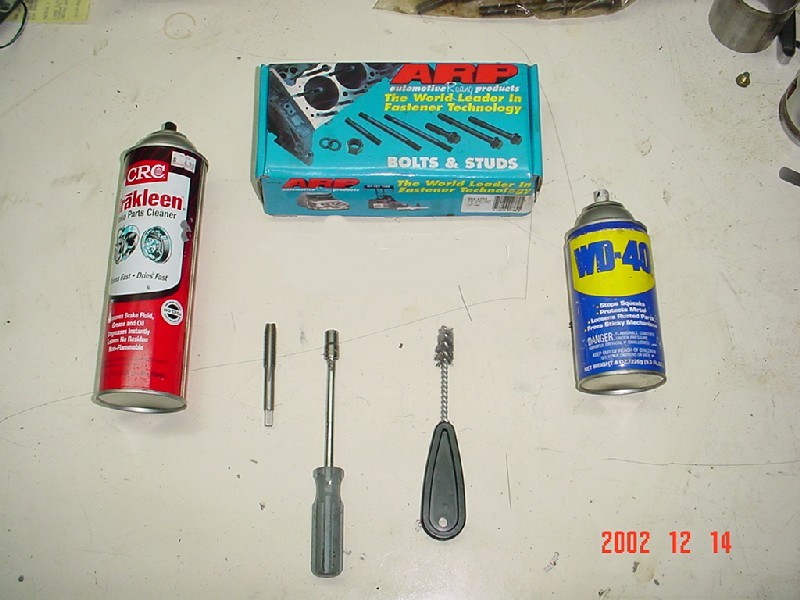
Here is the tap going in. Before doing this, I filled each hole with Brakleen and thoroughly scrubbed the threads. The holes were then all blown out with compressed air. The amount of crap that came out of each hole was unbelievable! You must do a rough cleanup of the threads using the wire brush before running the tap through the first time. If you don't, chances are that the crud in the hole won't allow the tap to cleanly turn. If you break the tap off, you will be in a world of hurt! The headbolt holes were filled with Brakleen for the first pass with the tap.
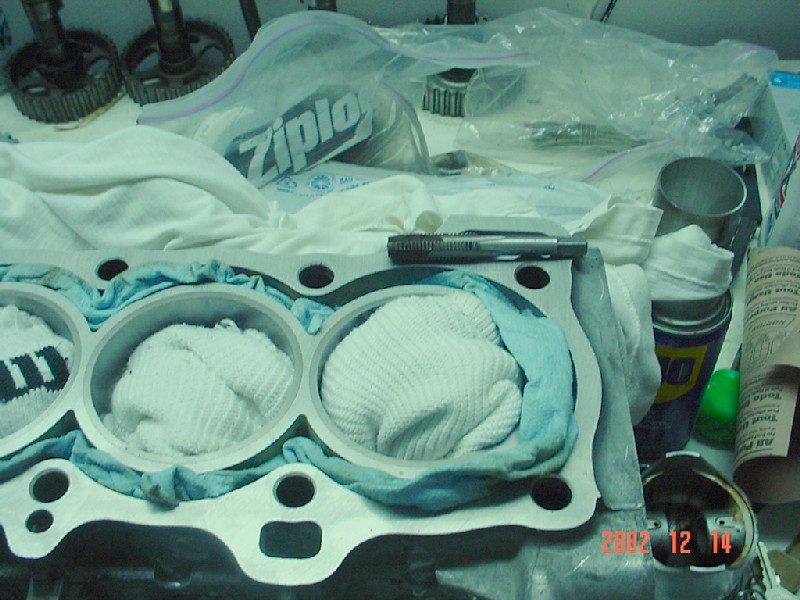
Here is a picture of the tap after the first pass. Keep in mind that the holes were already scrubbed with Brakleen before doing this. Obviously, there was more junk to be found.
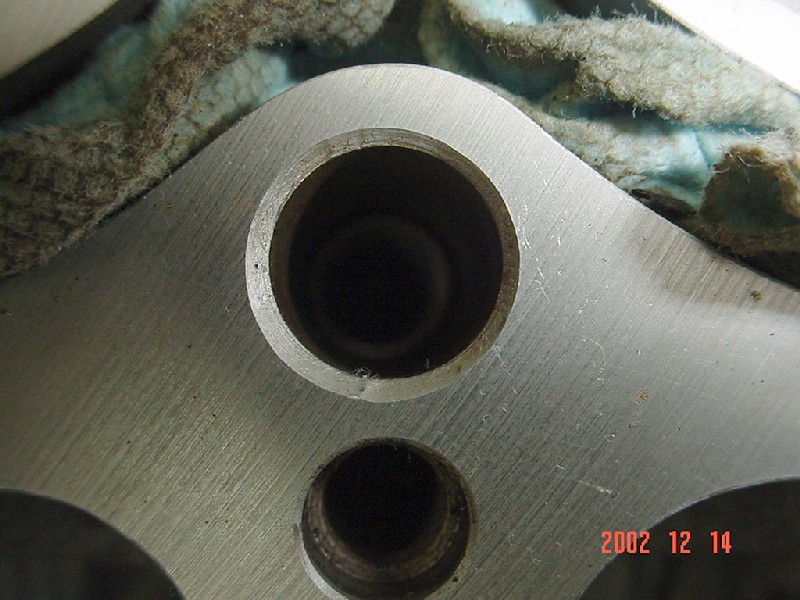
After running the tap through the Brakleen filled holes, each hole was blown out and then filled with WD-40. I ran the tap through a second time. This time, it took almost no effort to turn the tap...an indication that the holes were nice and clean. Here is a pic of a cleaned up hole. It's not a very good picture, but every holes' threads look like they are brand new....perfect for what we're trying to do!