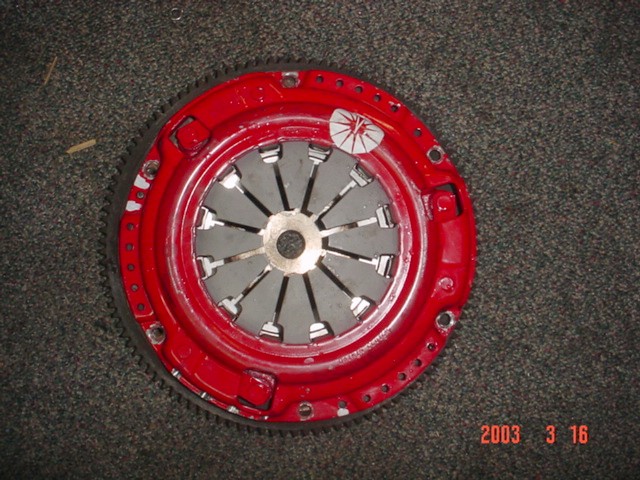
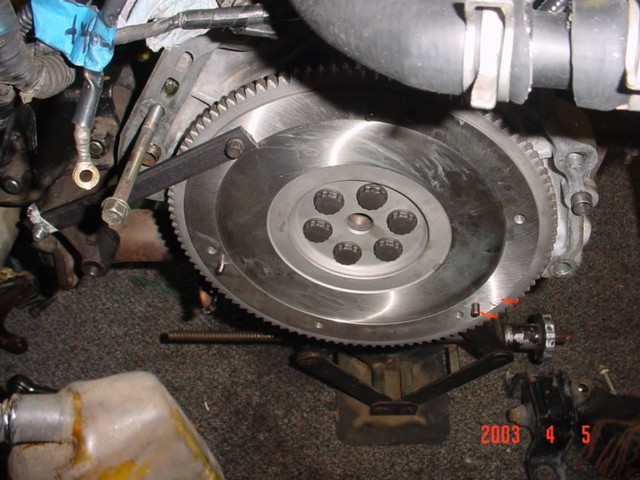
Here is look at the 91 CRX Si pressure plate on the 89 Integra's flywheel. As you can see, the pressure plate is too large. It might have been possible to machine down the pressure plate and/or the transmission, but at this point in the game, I wanted something that was a sure fit.
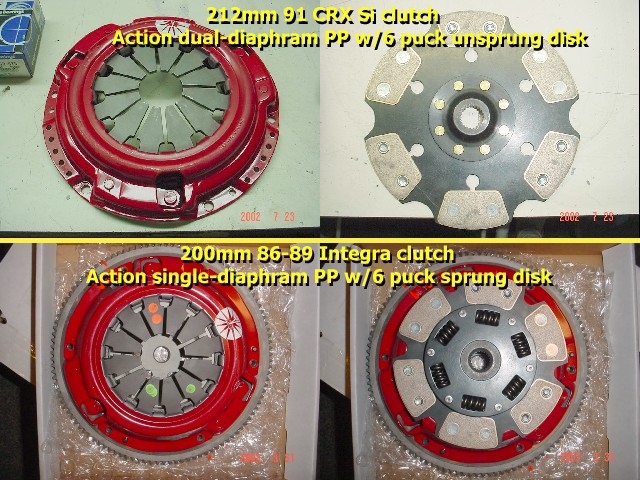
The top row shows the clutch combination that I attempted to use. The main advantage of the 91 CRX Si's clutch is that the surface area is substantially larger. I ended up switching to a single diaphram pressure plate because the dual diaphram setup made for a very stiff clutch pedal. I wasn't worried about the pedal pressure as much as I was worried about the strain on the clutch cable. I also switched to a sprung clutch disk per Action's advice. They recommended the sprung disk for my application since I am running poly-filled engine mounts. The replacement clutch isn't as strong as the first one, but it will still do the job. My first clutch was rated to hold about 360 ft-lb of torque. The replacement one will hold about 260 ft-lb. That's substantially less, but still plenty strong for what I plan to do.
This tool cost me about a dollar to make, but it worked like a champ! The flywheel bolts are torqued to 87 ft-lb, so it is almost impossible to hold the flywheel in place while the bolts are torqued. Honda makes a special tool for this, but my Home Depot special worked good. While the flywheel was locked in place, I used this opportunity to also torque down the pesky crank pulley bolt.
After getting the new clutch installed and putting the transmission back in, I worked on some other stuff. Since I used the D16A6's oil pan on my engine, I also had to use the D16A6 exhaust manifold and downpipe. Unfortunately, the downpipe hit the steering rack.
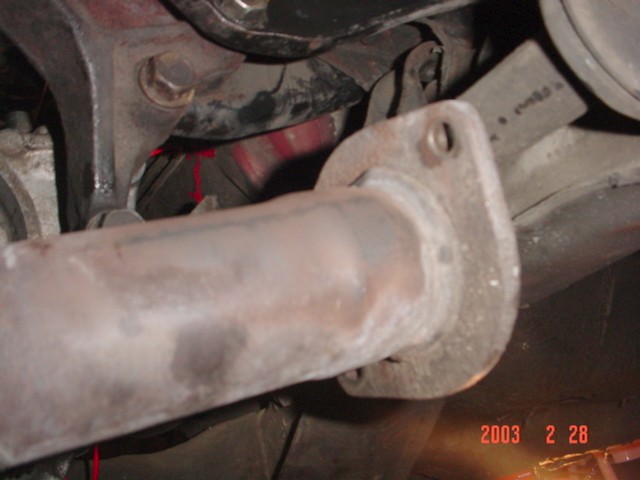
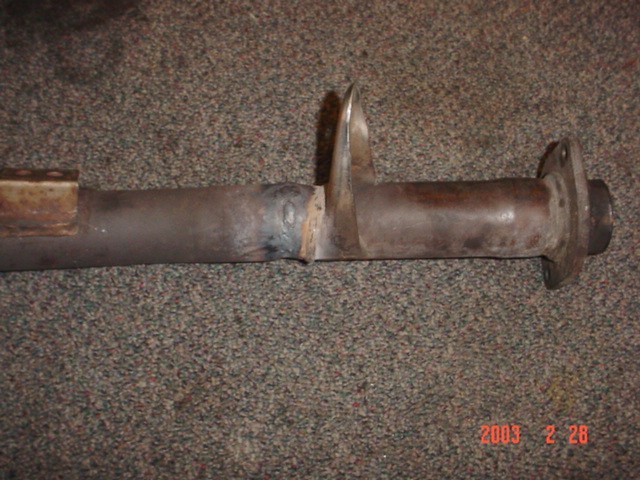
My solution was to cut the pipe at a point that was curved so that I could rotate it until it lined up with the cat. The downpipe is double-walled, so after cutting it, I removed the inner wall. Flipping it around 180 degrees lined everything up pretty good.

I rotated the end until I got it to point in the correct direction and then welded it back on. It's not the world's prettiest weld, but it will do the job.
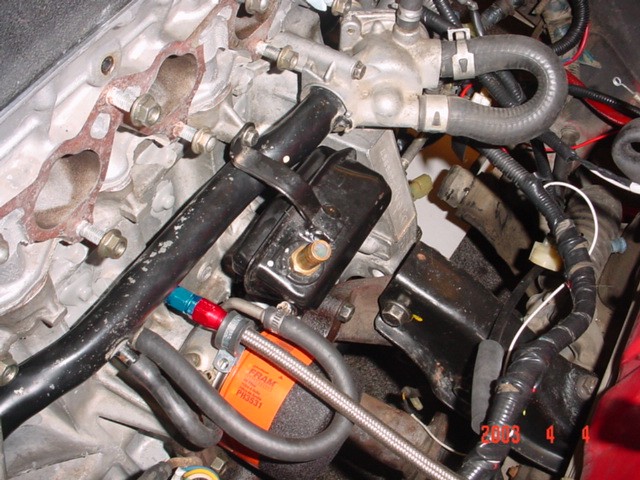
One of the other problems I had was that I had a water leak coming from the back of the water pump housing. The o-ring that is on the end of the water pipe was twisted. I had to remove the intake manifold to fix this, but it wasn't too bad. While I was in there, I decided to check the black oil separator box and found that it was very hard to blow air through it. The valve in the top of the box was all messed up. So, I pulled it out and just replaced it with a barbed brass nipple. Under boost, I expect that this engine will have more crankcase pressure than normal, so I don't want any restrictions placed on the crankcase's ability to breath. The oil separator will be connected to my external Moroso catch can.
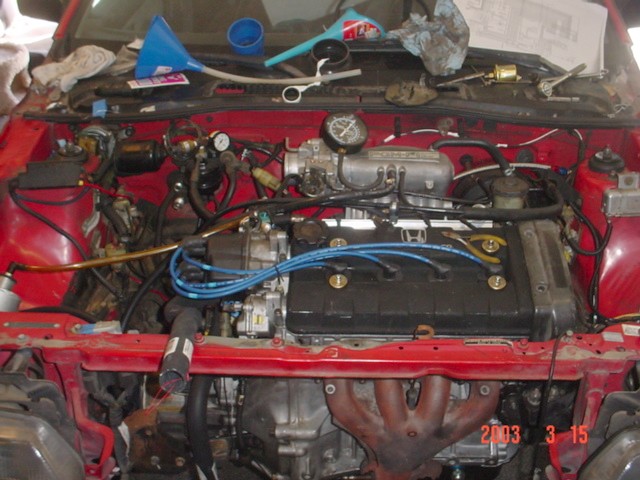
Gettin' close! I still need to reinstall the axles, knuckles/hubs, the radiator, and I'll be ready to go.